

This year for my daughter’s 2nd birthday I decided to do a bunny theme. It seemed fitting as her favourite stuffy is a Jellycat bunny which she carries around with her everywhere she goes and is a MUST have item to cuddle when she falls sleep. I recently got her a smaller version of the same bunny so she now carries “big bunny” and “little bunny” around everywhere together. When I told her the theme for her birthday party was bunnies she immediately requested a change to a mermaid theme but I kindly explained to her that it was a little too late for that as mommy had already started to order the bunny decor. Gotta love the 2 year old personality that’s emerging! Here I thought birthday party requests wouldn’t start until next year… lol. Oh well, after a quick explanation and some convincing she was in agreement with a “bunny birthday”.

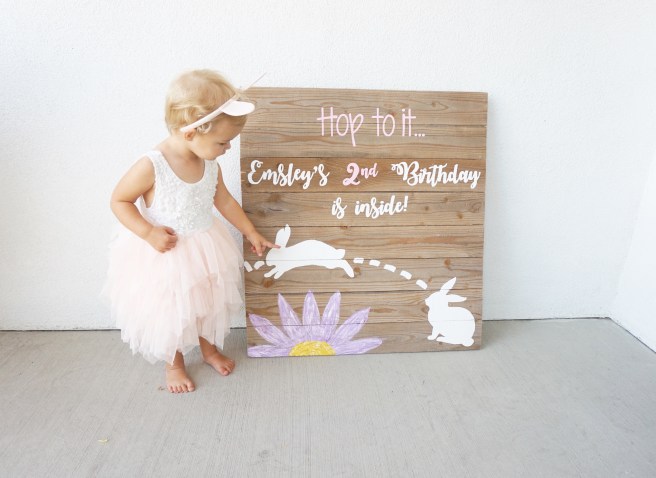 I always like to do some decor on the front step so I used white sidewalk chalk to create bunny footprints up our steps leading to the door. I did them pretty quick before the guests arrived and immediately afterwards my hubby pointed out that they looked more like a bear paw print than a bunny paw print. Whoops! Oh well, the basic gist was there. 🙂 The wood sign was actually repurposed by my handy hubby from one of the pallets used for Emsley’s backdrop during her first birthday party. My talented sister in law then created the artwork and writing on it! Such a cheap idea and I LOVE how it turned out!
 I went more basic decor wise compared to what I did last year for her first birthday. I kept it in budget and simple by doing just a few small things on some of the tables around our house. For the entrance table I purchased the stuffed bunny from Homsense, after Easter, on clearance for only $8 dollars. I found the bunny print randomly on google for free and had it printed out. The candy dish was borrowed.

 I wanted to focus my efforts on the dessert table, so I started off the decor by including this beautiful balloon arch created by the talented ladies at Glitter + Glue Parties! The colours in the balloon mix were perfect and I couldn’t get over the quality of the balloons; the arch lasted for weeks after the party was over! I traced, cut out and added in the white bunny ears to the balloon arch myself to tie in the bunny theme a bit more. The pink “Some Bunny is Two” sign is from Homesense, and the backdrop was made by my hubby for my August Lace Designs craft shows.
 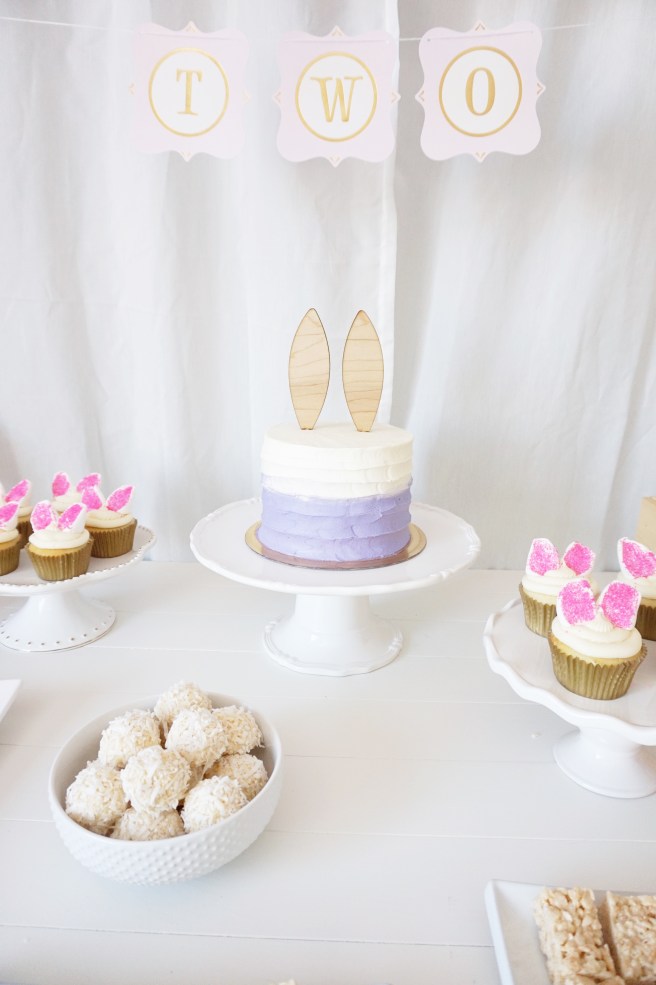 The cake was made by a local company called Buttercream by Alareen. And the cake topper was made by one of my favourites — Sweet Saltwater Designs. I’ve featured many of their pieces before on my blog, including the wood name and sign in my daughter’s nursery. The coconut covered “bunny balls” were made by me and were super tasty, gluten free and very fast and simple to make!
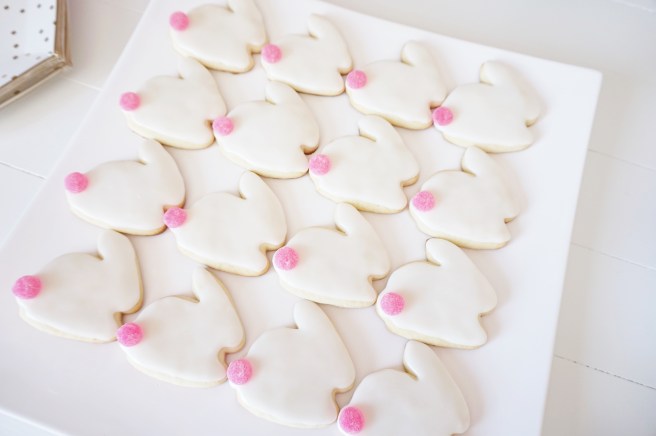
The bunny sugar cookies were also made by me. I have a go to recipe that I always use for sugar cookies which is absolutely delicious! They are so thick and soft and the cookies will last for days (especially once iced as it holds the moisture in), so it’s an easy recipe to make ahead. I will happily share it if anyone’s interested!

The cupcakes I also made myself. I got the bunny ear idea off, where else?, but Pinterest of course! If you search ‘bunny cupcakes’ on Pinterest it pops up and easily explains how you cut the marshmallow in half on a diagonal and then dip the sticky side in sprinkles to create the look of bunny ears! My daughter loved the cupcakes and easily recognized them to be bunnies!  The juice container is from Homesense and the two crates are from Ikea. I bought the light pink cups and cotton balls from Dollar Tree and hot glued them on myself. Again, a super cheap and cute idea to tie the bunny theme in!

 The polka dot hexagon plates and the pink palm napkins were both from Homesense.
I used Michaels white bags to create bunny treat bags by drawing a face on them, cutting out a triangle for the ears and tying a pink ribbon on them. Super easy and a cheap goodie bag idea to fill with treats for the guests!
 I used some of my previous Easter decor on the hutch, both of which are from Homesense of course!
For the dining table decor I decided to purchase real carrots with greens still attached to them as opposed to doing my typical flowers in vases as I felt the carrots looked more bunnyish. Unfortunately the greens wilted in the fridge real fast so they were super droopy by the day of the party. I cut them down a lot so they didn’t look so poor but sadly they didn’t look as great as I wanted them too. The white bunny dish was bought from Homesense and was borrowed.

 Hubby and I whipped up this bunny bean bag toss for the backyard festivities. We took a piece of wood we found in the neighbourhood (joy of new developments!) and traced a bunny on it. Hubby painted it black and white and I went to town drawing the face. I sewed three bean bags (actually rice bags as I filled them with what I had around the house) for people to toss into the bunny! I love that it cost us practically nothing and was a super fun addition for everyone to play with!
 Someone was a tad excited about all the guests arriving!
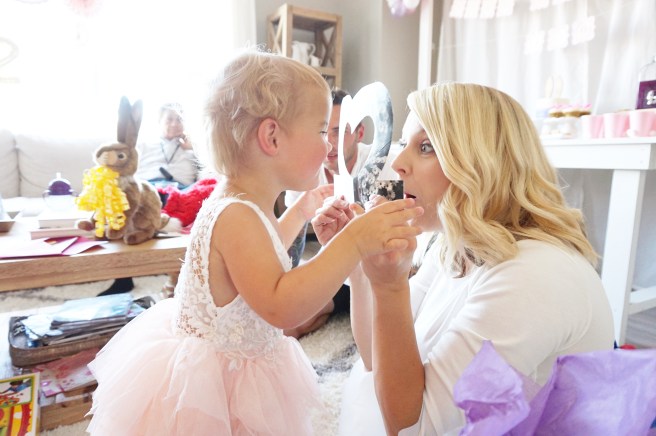


Miss Lace had tons of fun opening presents this year. She eagerly wanted to play with the one she had just opened rather than opening another and become exhausted by the fact mommy kept pushing more at her. She also loved receiving the “blue money” and was very excited each time she got another one. She was quick to hand out and give away any that were coloured in shared of greens, reds and browns though, haha!
My white scalloped maternity dress I already featured on the blog and can be seen here. It was super comfy and stretchy which made it easy to wear when sitting on the ground helping Emsley open presents, picking her up and hosting! Miss Lace’s dress was from an Instagram clothing boutique called ockidscloset. Her sparkly bunny ears are from Gap.

Overall, we had a wonderful day celebrating our sweet girl! The joy her birthday party brought her this year compared to last was amazing to witness. She had such an understanding of what was happening and completely embraced it all. I can’t wait for future parties (where she can tell me what her theme is going to be haha) and to see her awareness and excitement increase!
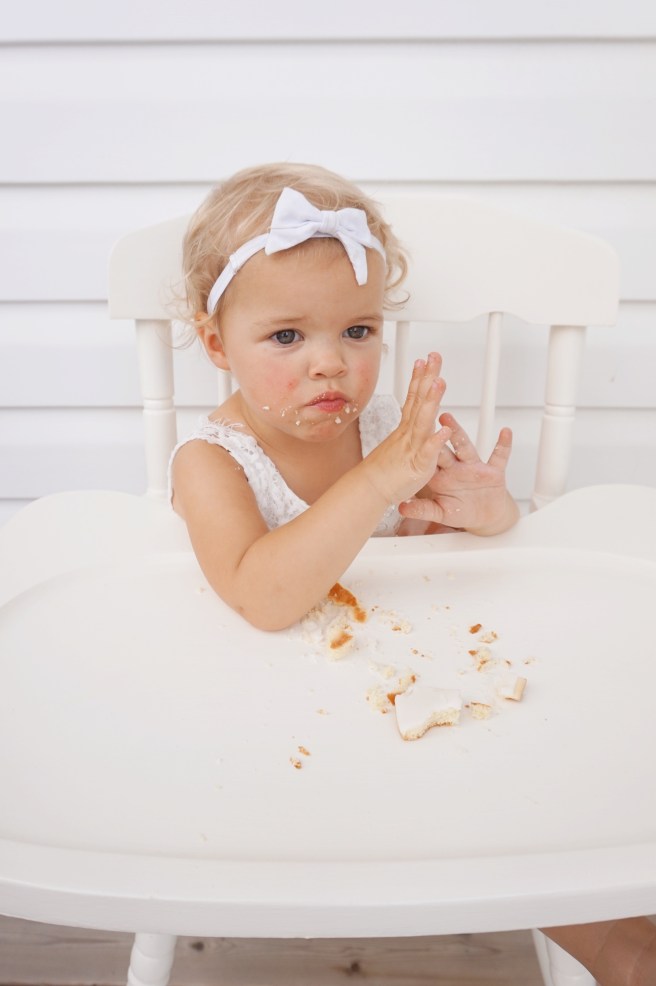 We had our sweet girl blow out the candles on the cake as it had to be done for tradition sake (it just doesn’t feel like a birthday without it!) but she doesn’t really enjoy eating cake and opted for a couple of bunny cookies instead! 😉


I ordered these custom gold bunny decals from a company called Elena Life Designs on Etsy. Elena is always so quick to respond to messages and ship out her items! She also was incredibly helpful in designing these bunnies and is truly passionate about what she does. I am so happy with how they turned out; it made for a great photo booth wall to take pictures in front of!
Thank you to both of our families for coming over and celebrating our sweet girl with us! We are so grateful that we have such wonderful people in our lives who love and cherish our little girl as much as we do. I know she was over the moon that day with all the attention and felt the love from all of you in many different forms!
Happy 2nd Birthday Miss Lace!

Hi Arlynn,
I would like to say Happy Birthday to your little girl! May she be healthy and happy! I love how your decorations came out. You did such an amazing job! Emsley looks so happy and excited!!!
XOXO
Elena
LikeLike
Thanks Elena! And thanks again for creating the perfect custom decals! 💕
LikeLike
I just felt I needed to comment – this is so cute and why didn’t I think of this?! My little girl just turned 1 at the end of July and she also has a Jellycat ‘Big Bunny’ and ‘Bedtime Bunny’ that she’s obsessed with. Guess I know what her party theme will be next year! Also, if you don’t mind me asking, where did you get that beautiful high chair? It’s so nice! 🙂
LikeLike
Aw thanks for commenting! Those jellycat bunnies seem to be a popular pick. It’s definitely a fun birthday theme to create! The high chair was found on Kijiji and was originally a dark brown wood. I just gave it a makeover with a little white paint. 😉
LikeLike
So adorable!! Do you have the recipe for the coconut balls?
LikeLike
Hi! I just mixed graham cracker crumbs with evaporated milk and then rolled them in the shredded coconut before putting them in the fridge. I can’t remember the exact ratio. A quick google search now said about 2.5 cups of graham cracker crumbs to 1 14 oz can of evaporated milk! I’m sure that’s about right. 🙂
LikeLike
I meant condensed milk not evaporated! Sorry!! You want the sweetness from the condensed.
LikeLike